
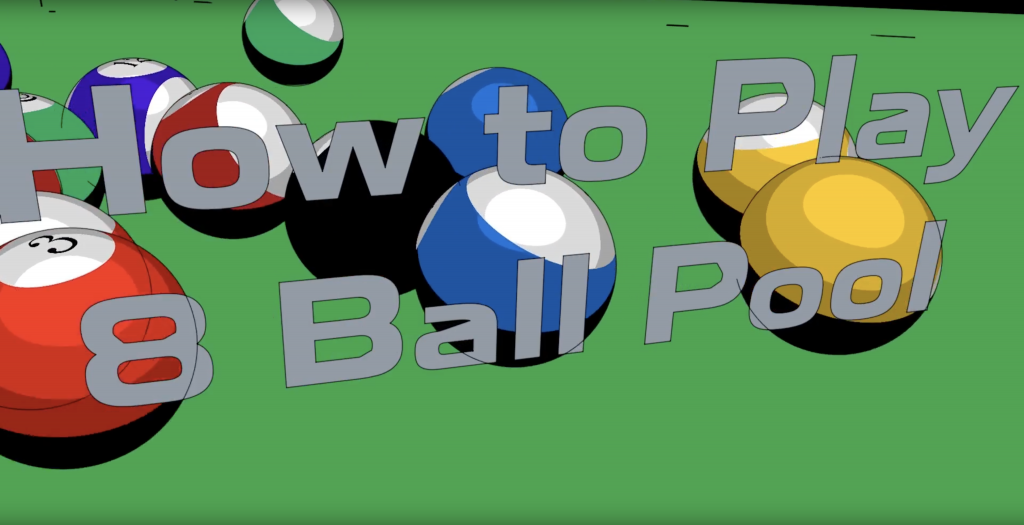
How to play 8 Ball Pool
Interactive SIte
You can hover your mouse to interact with these text boxes. On moble simply tap on the box to reveal the interaction and information within the text box.
Thank You
Please Enjoy this interactive experience and use it to reveal all of the content that's on the page.
THE INSPIRATION
My inspiration for this video was that the school had just constructed new areas to our school. The school had implemented an student activities center, which had a few games for the students to play on their off time.During break one day me and my friend went around the area to find a game to play. My skills in the first few games we played we so poor I didn’t feel like I had a stake to play them.
This was until we started playing pool I’ve barely played before, but I thought I had a better handle on this game then the others.
I had a good experience playing, I found the time playing with my friend very fun. When it came time to do the project, I found myself wanting to do it on pool since I had a good time learning and playing the game.
Opening
Now the project required that I produced a how to video with a 30 second the my idea for the video being how to play pool.Then It became time to write the storyboard. When writing the story board for the video, I just went through major checkpoints that were in any pool game match.
This meant I had to thoroughly explain each checkpoint in detail to assist players whom may have never played the game before.
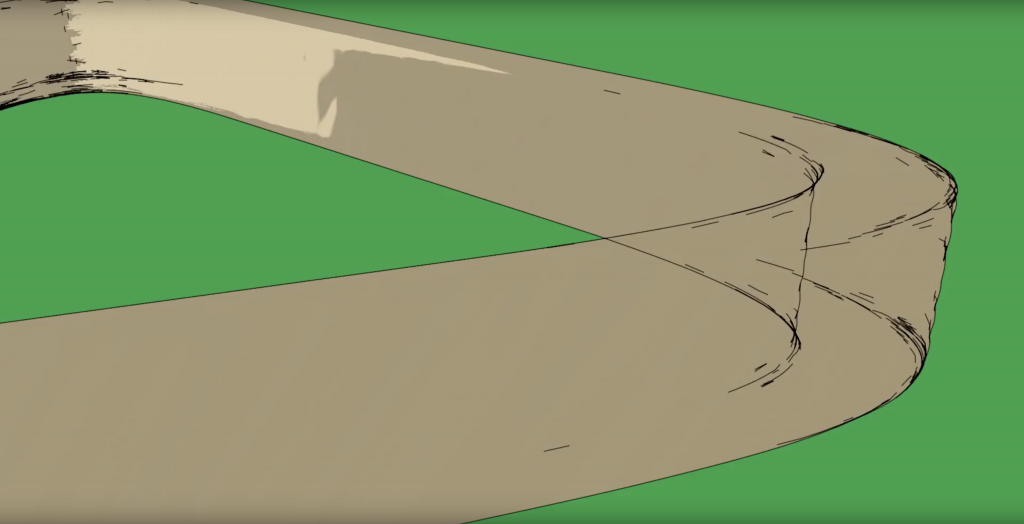
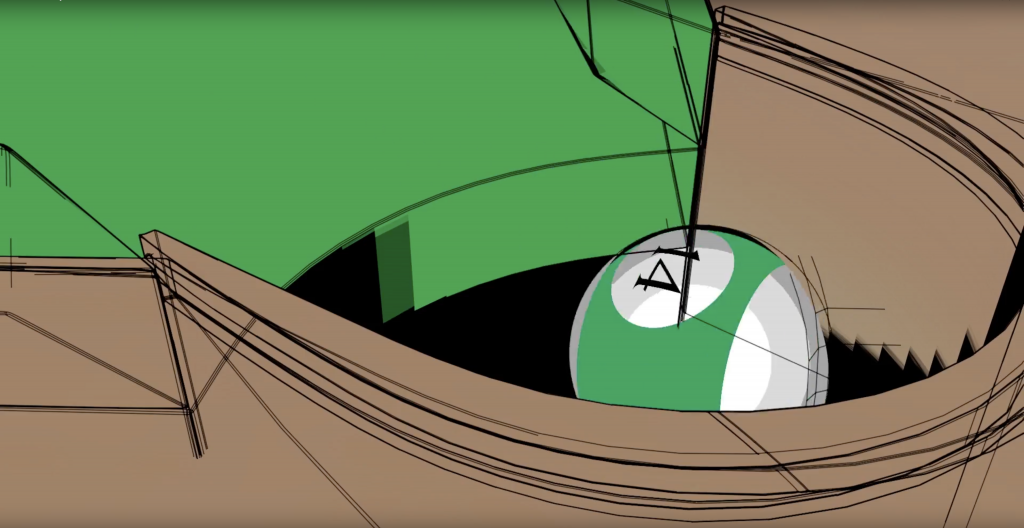
One of the things I wanted for my introduction’s animation was to use 3D models. I thought the end result would be very pleasing and complementary to the video.
Exposition
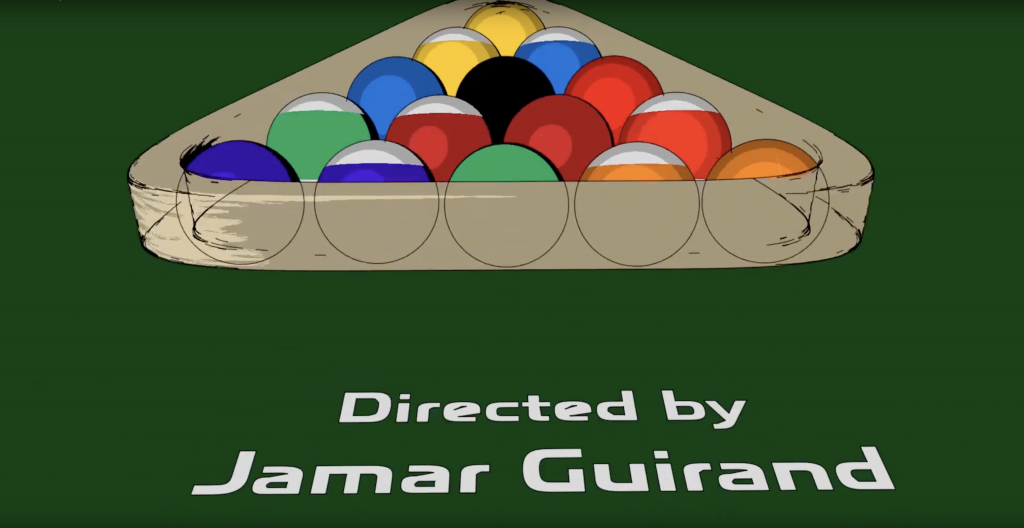
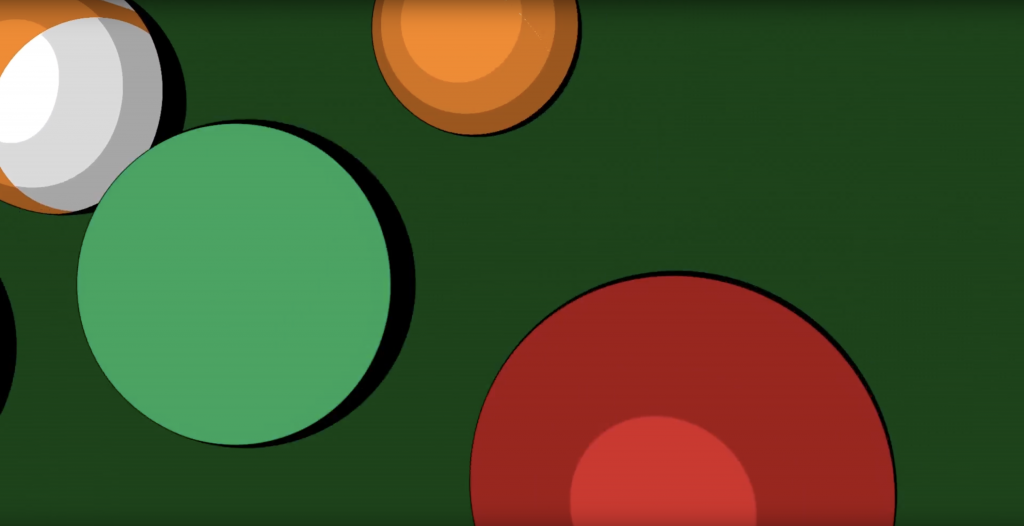
The storyboard for my video would become the guide and inspiration for the storyboard idea I had for my animation. The storyboard would include: Pool balls being sunken into the pocket, broken by the cue ball, aimed and shot at the racked up pool balls, and lastly being racked up.
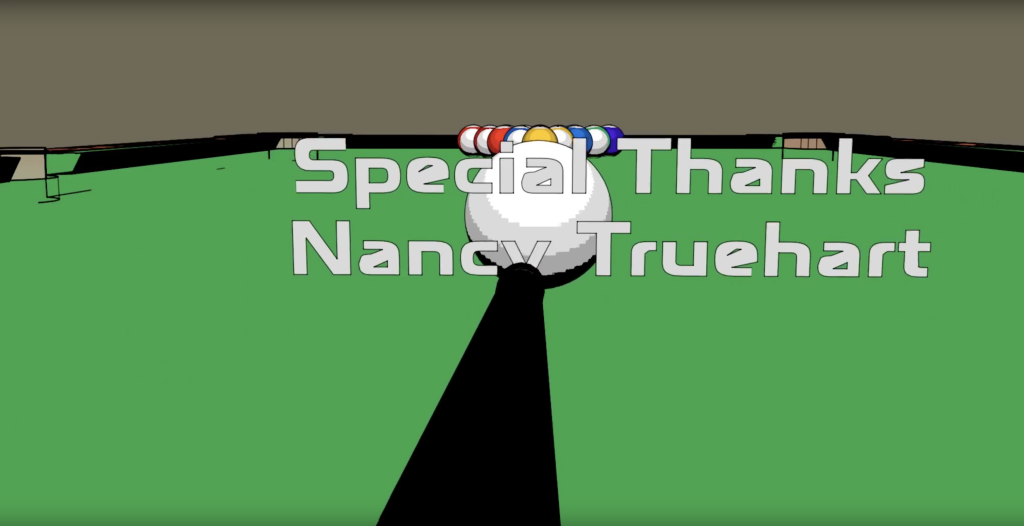
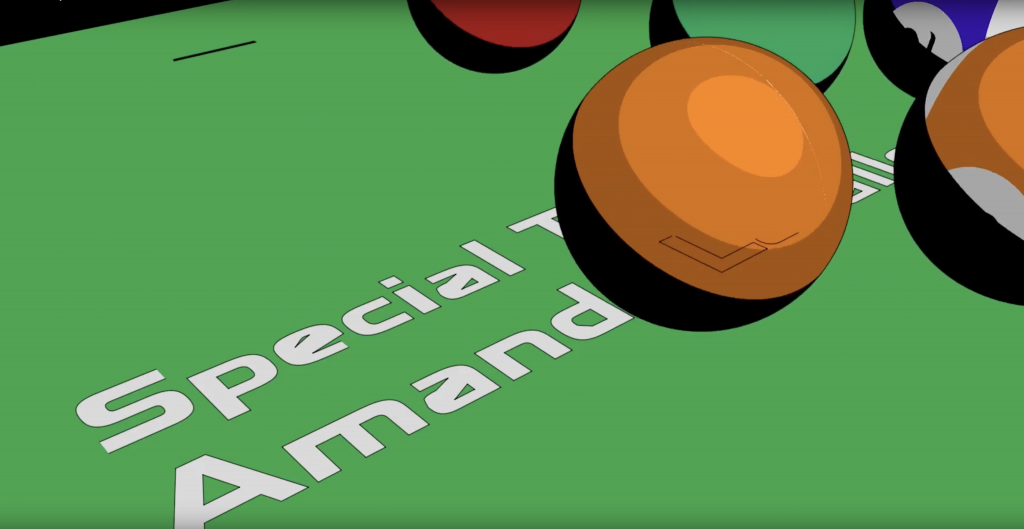
The introduction would have to be strong enough on its own to illustrate the point of the video. Furthermore the introduction would have to include 3 credit sequences. I use the natural movement of the motions to my advantage. The different dynamic movements would act as curtains to reveal the names credited in the introduction.
Obstacles
When my introduction was first rendered, I had problems bringing the cinema 4d files over to after effects. The problem was that the textures from the files were not being located by after effects. After seeing this problem, I had asked for advisement from others on how to fix this problem. One solution to the problem, was adding cell shading filter to my textures. The other solution was to export my Cinema 4D frames as a sequence.
This meant that when it was brought in to after effects the jpgs were brought in as a completed sequence, similar to the process of creating a stop motion. When brought together the images made a seamless animated movement. I then went on youtube’s archive of free music to find and locate some music to go along with my opening animation. The music was a perfect fit so I decided it was a good idea to use the music throughout my entire video
Conclusion
The next step was going to shoot footage in the student activity center, however with the direct lighting above the table the footage would have been both under and over exposed. This required me to change to a different area with better lighting. I was able to relocate to a different area to reshoot my footage, and the change in scenery made all the difference.
Conclusion
Next it was time to collect all the footage and being editing the clips all together. After editing the clips together, I had to begin recording my audio. After recording my audio and had to sync the audio recordings to the footage. After adding music and the opening and closing sequences to my video, it all came together in the end.